Here at Grimeford Mill, we are a trusted supplier of quality-made coir matting and we’re always ready to provide expert guidance on your matting matters. In this blog post, we are going to share our professional insights on a common DIY task: how to cut coir matting.
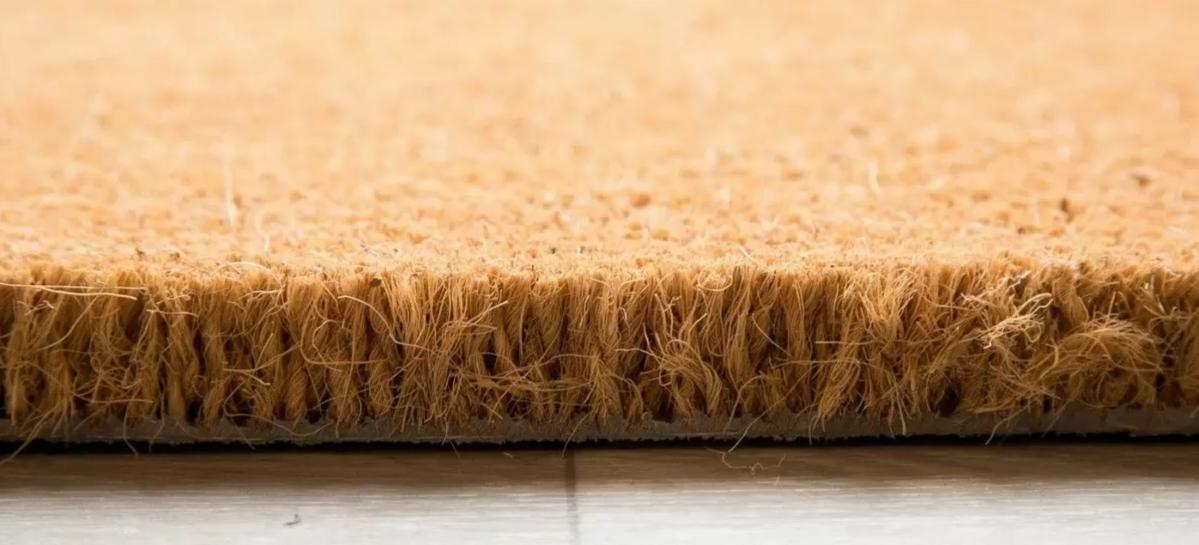
Coir matting, also known as coconut matting, is a robust and eco-friendly flooring solution that is often used at entranceways in commercial spaces. Besides being aesthetically pleasing, coir is an incredibly effective dirt trapper, and can successfully keep your interiors free from dirt and moisture. However, to ensure the mat is efficient, it must be installed correctly which can be quite tricky if you have an awkward-shaped space to fill. Luckily, we have got you covered with our five-step guide to cutting coir matting perfectly.
Step 1: Measurements Matter
Accurately measuring your desired location is the foundation for a perfect cut, as a mat that is too small will be ineffective and a mat that is too big will lead to lips and potential trip hazards. To measure the area, simply use a tape measure to acquire the exact dimensions of the entrance space or mat well where you want your coir mat to be installed. You will want to measure the length, width, and height of the space to guarantee a flush finish. Make sure to measure twice to avoid any costly errors and note the measurements down for the next step.
Step 2: Mark Your Mat
Once you have measured the area, it is time to mark your mat. Simply place your coir mat in front of you with the PVC backing facing up. Using a straight-edged ruler and a piece of chalk or pen, clearly mark the back of the mat where you want it to be cut, using the measurements you took in step 1. If you’re worried about the mat being too small, we recommend adding a 5cm allowance for reassurance.
Step 3: Tools
Cutting coir is relatively straightforward and can be cut using tools that you will likely already have on hand. Our coir mats can be cut using a sharp Stanley knife or a pair of heavy-duty scissors. When choosing your tool, it is important to ensure it is sharp enough to avoid ragged edges and to ensure a clean, straight cut.
Step 4: Cutting
When it comes to trimming the mat, it is important to apply consistent pressure along the lines you have marked out. It is generally better to make several lighter cuts, rather than trying to cut through the mat all in one go, this way you will have more control. With the coir mat still on its frontside, cut the PVC backing along the markings. If the PVC has been cut all the way through, the coir matting can be pulled apart.
Step 5: Final Fit Check
After cutting the mat, you can install it in the desired location. If any additional adjustments are needed, simply mark and trim the sections carefully following the same steps as above.
You should now have a mat that fits within your space perfectly!
At Grimeford Mill, we not only supply top-quality coir matting products but also the expertise to ensure you get the best results out of our products. If you want to have a go a cutting your coir mat, please feel free to follow our instructions above or if this still feels daunting, we also offer a made-to-measure service on all of our coir products where we will do all the cutting work for you. Simply enter the dimensions you require on our product pages or send us an email via [email protected], and we will ensure a coir mat is delivered to you exactly how you need it.